Navigate to [ http://www.yourdomain.com/wp-admin ]
(Type in your businesses website domain in place of www.yourdomain.com)
Login: [ Username ]
Password: [ your Password ]
Click on the “Post” or “Pages” where you want to add photos to..
(the following instructions apply to both)
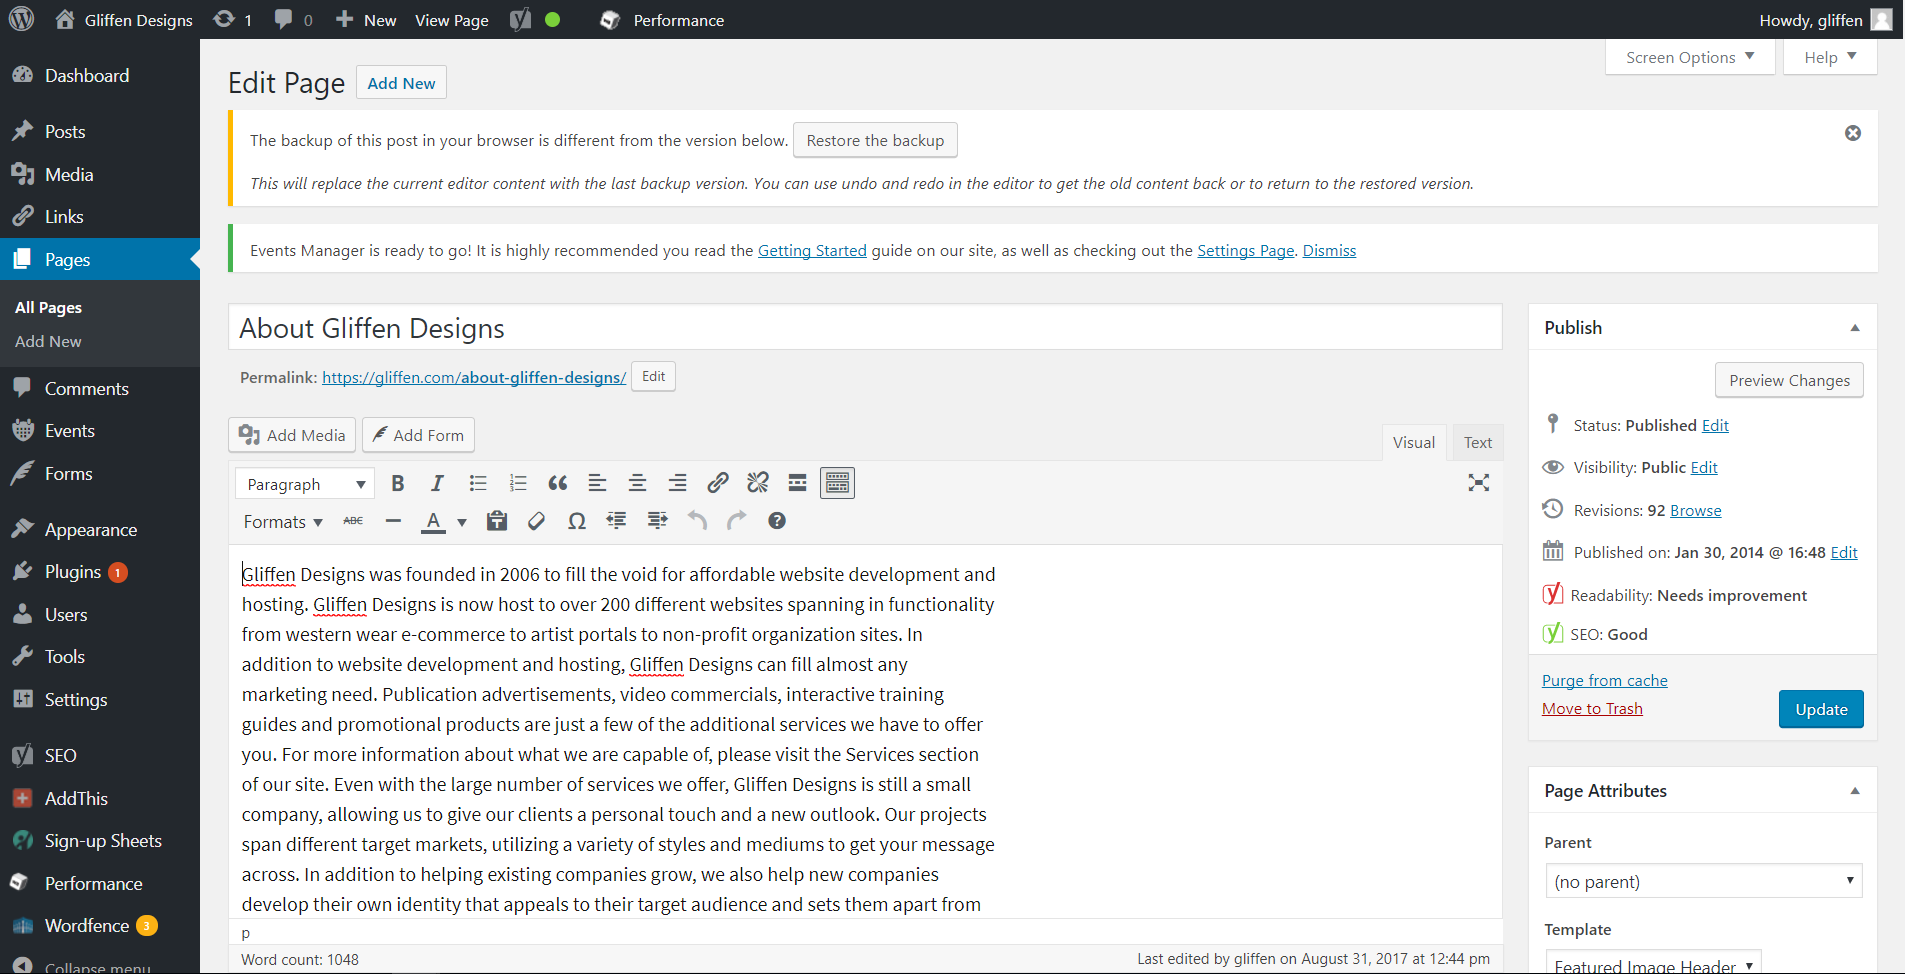
To add a photo to your “Post” or “Page”:
Click the “Add Media” button underneath the page/post title and permalink, next to the add form button.
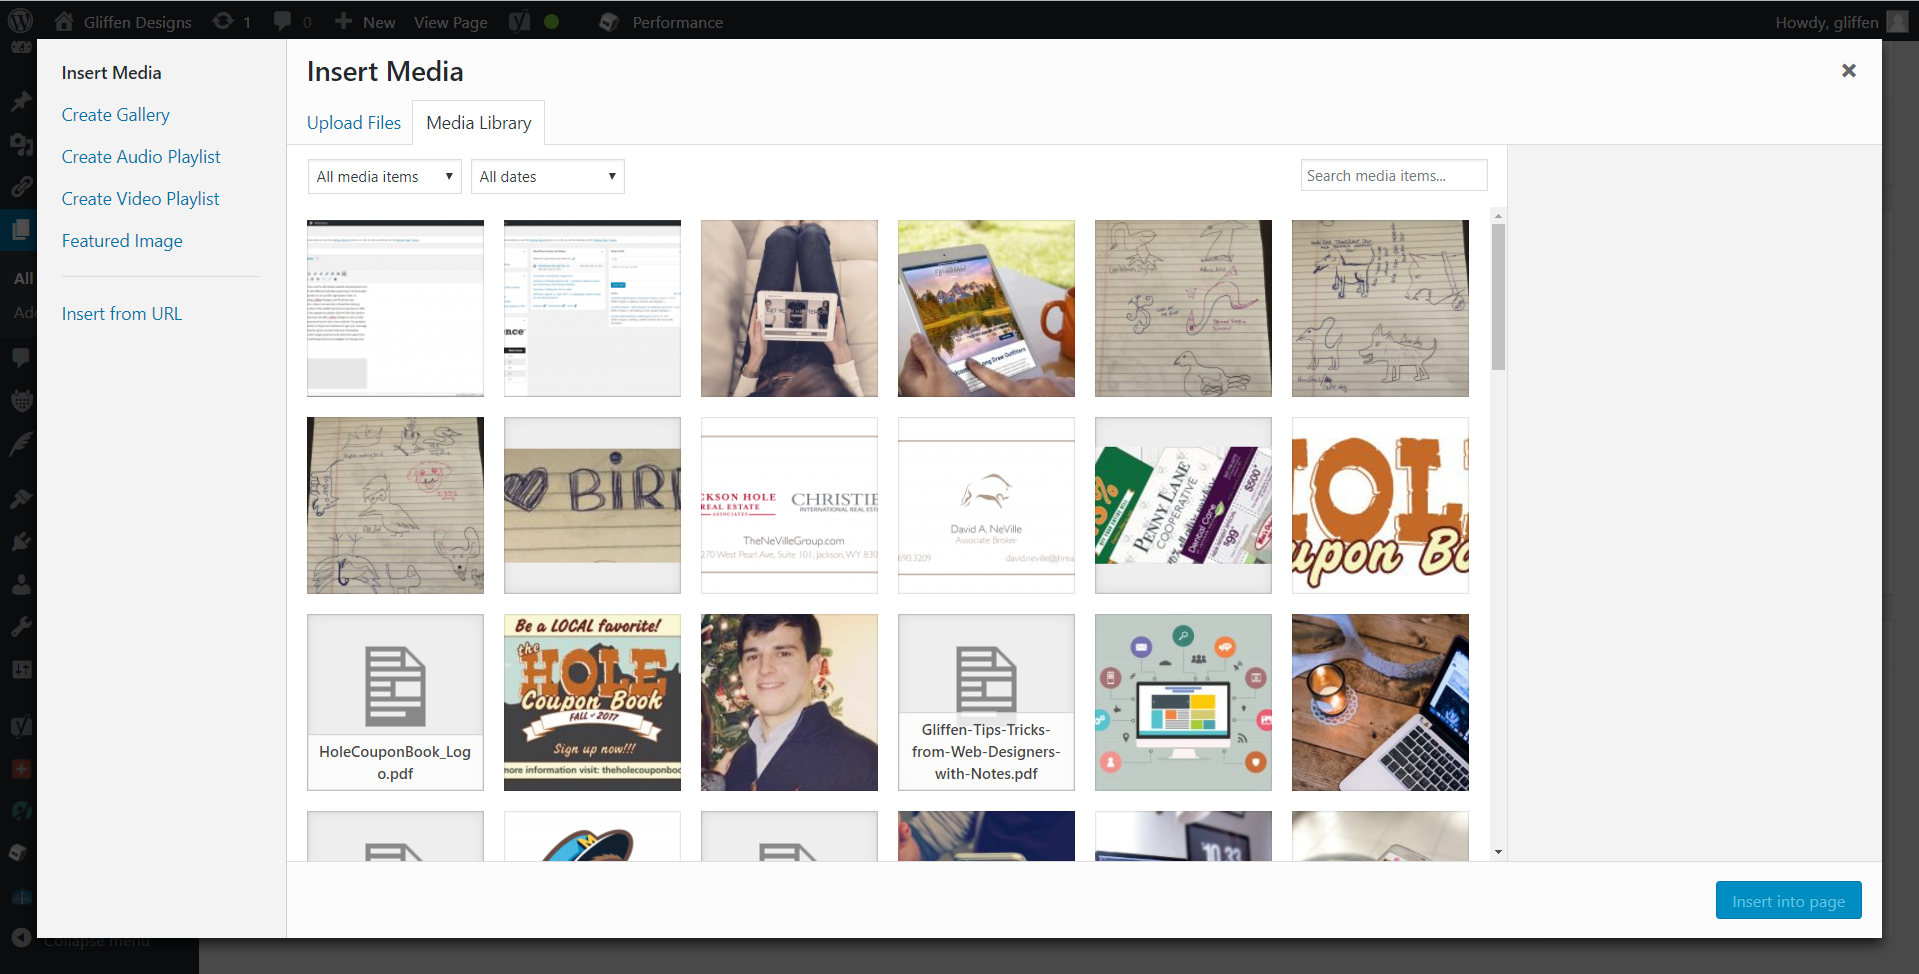
- “Insert Media” window will pop up, displaying your media library of previously uploaded images, videos, files, etc. If you need to upload a new photo select the “upload files” tab at the top of the window. Once uploaded, files will be visible in the media library tab.
- In the “Media Library” tab you are able to select one or more photos to insert into your page or post.
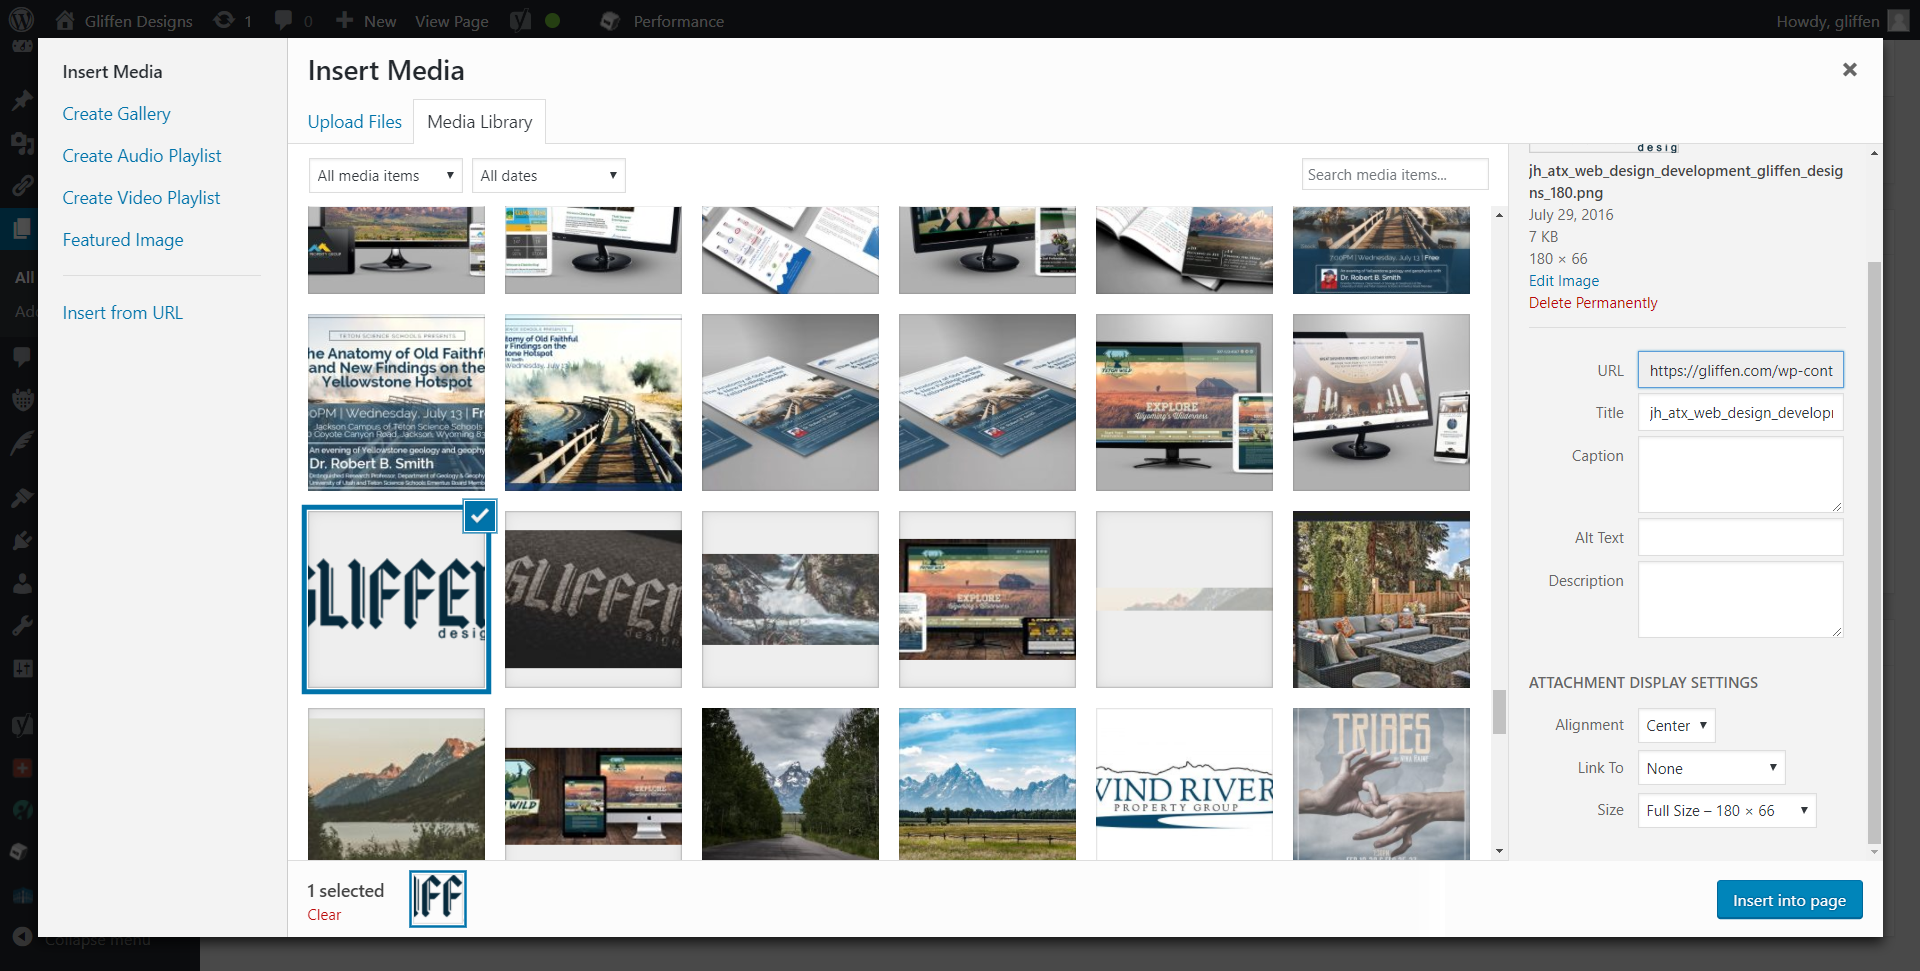
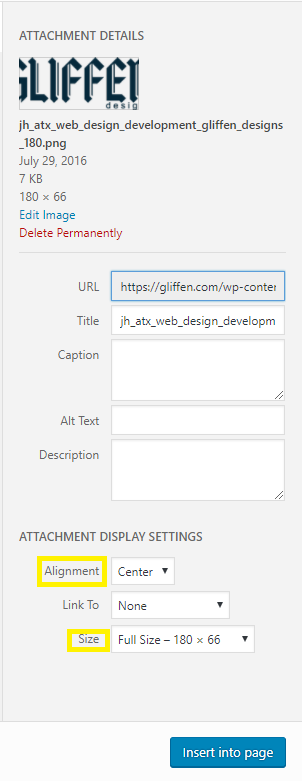
You can type in the “Caption” – which will show up underneath the photo, be sure to specify the:
- Alignment: None, Left, Center or Right – We recommend if you are going to have content you are typing in the body of the Page, go for a Left or Right alignment. But if you will just have photos choose either None or Center.
- Size: Thumbnail, Medium, Large, Full Size – We recommend if you are going to have content along with your photos in the body of the Page, go for a Thumbnail or Medium size. But if you will just have photos choose Medium or Large, Full Size can be too large for the space you have to work with for your website.
Note: the dimensions underneath some photos may read: Full Size (3264 x 2448) — anything larger than 700 in width is too large for your website. But, you can go back in after adding a photo that’s too large and shrink it down to size (I will demonstrate that below).
Click “Insert to Page” when you are ready.
Notice the image is now in the body of your post/page.
You can move the image around in the page if need be.
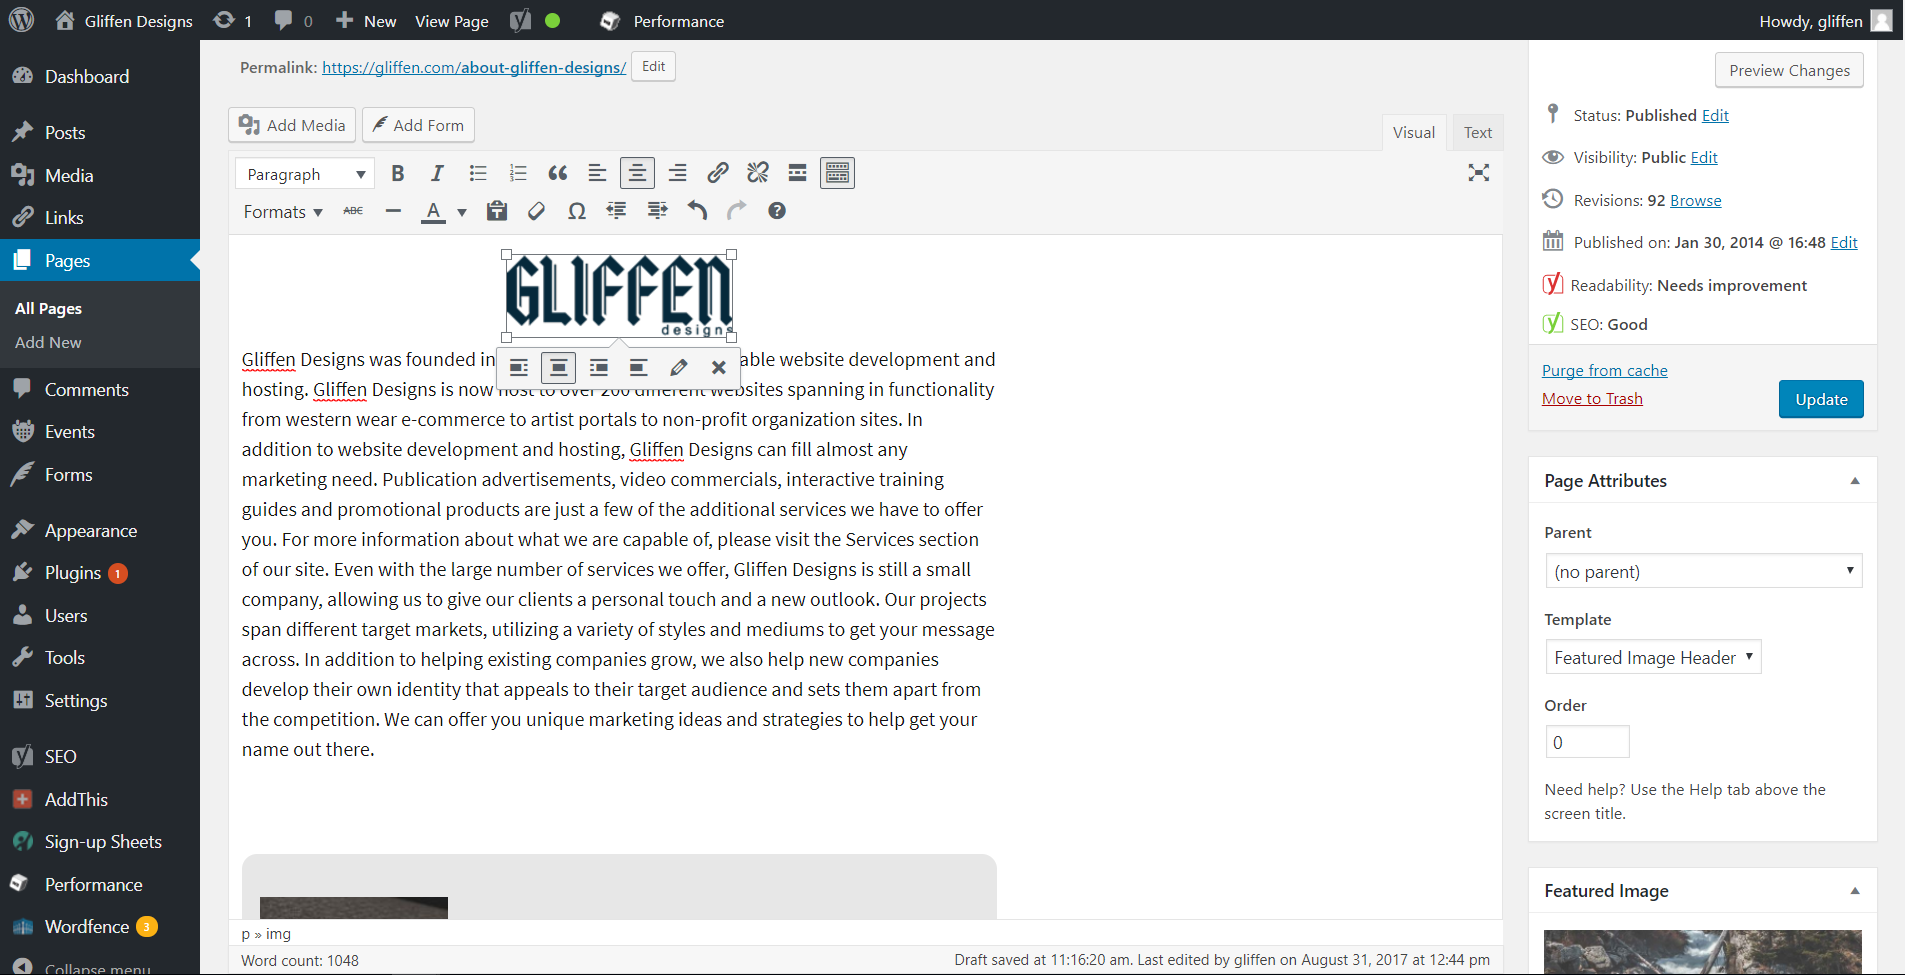
Click on the photo in the body of the Page, you will see a row of icons hover above or below the photo – the pencil icon is how you can edit the photo and the others are alignment options and to delete the photo.![]()
Click on the pencil icon.
You can toggle the size of the photo and change the alignment and the caption
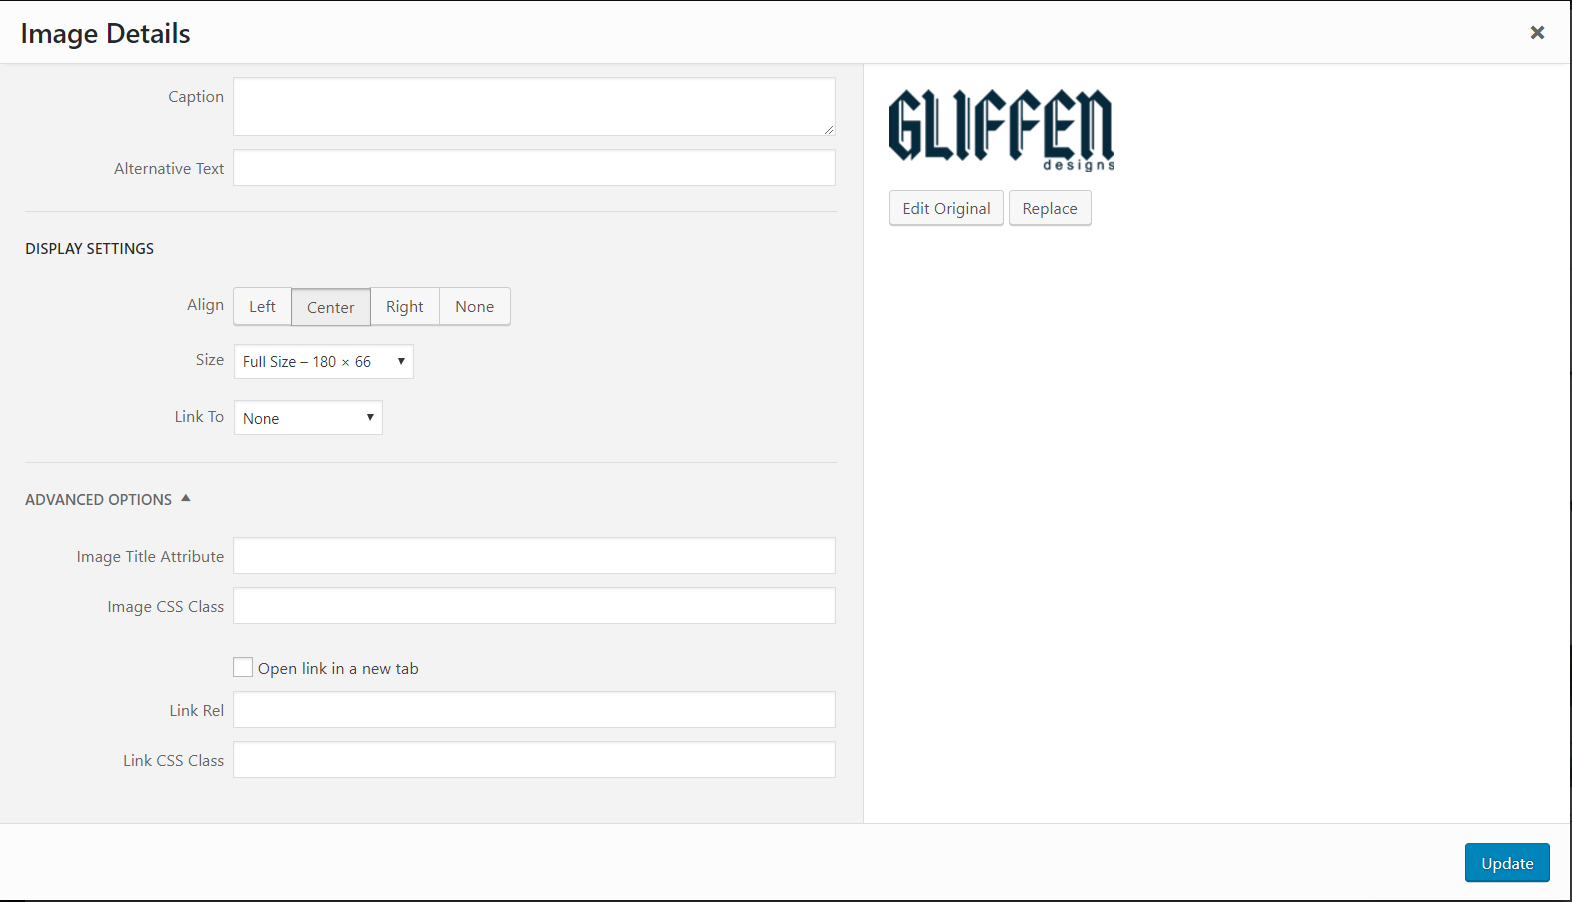 Furthermore you may make changes to the photo through clicking the “Edit original” button which will take you to a page where you can rotate, scale and crop the image.
When finished click Update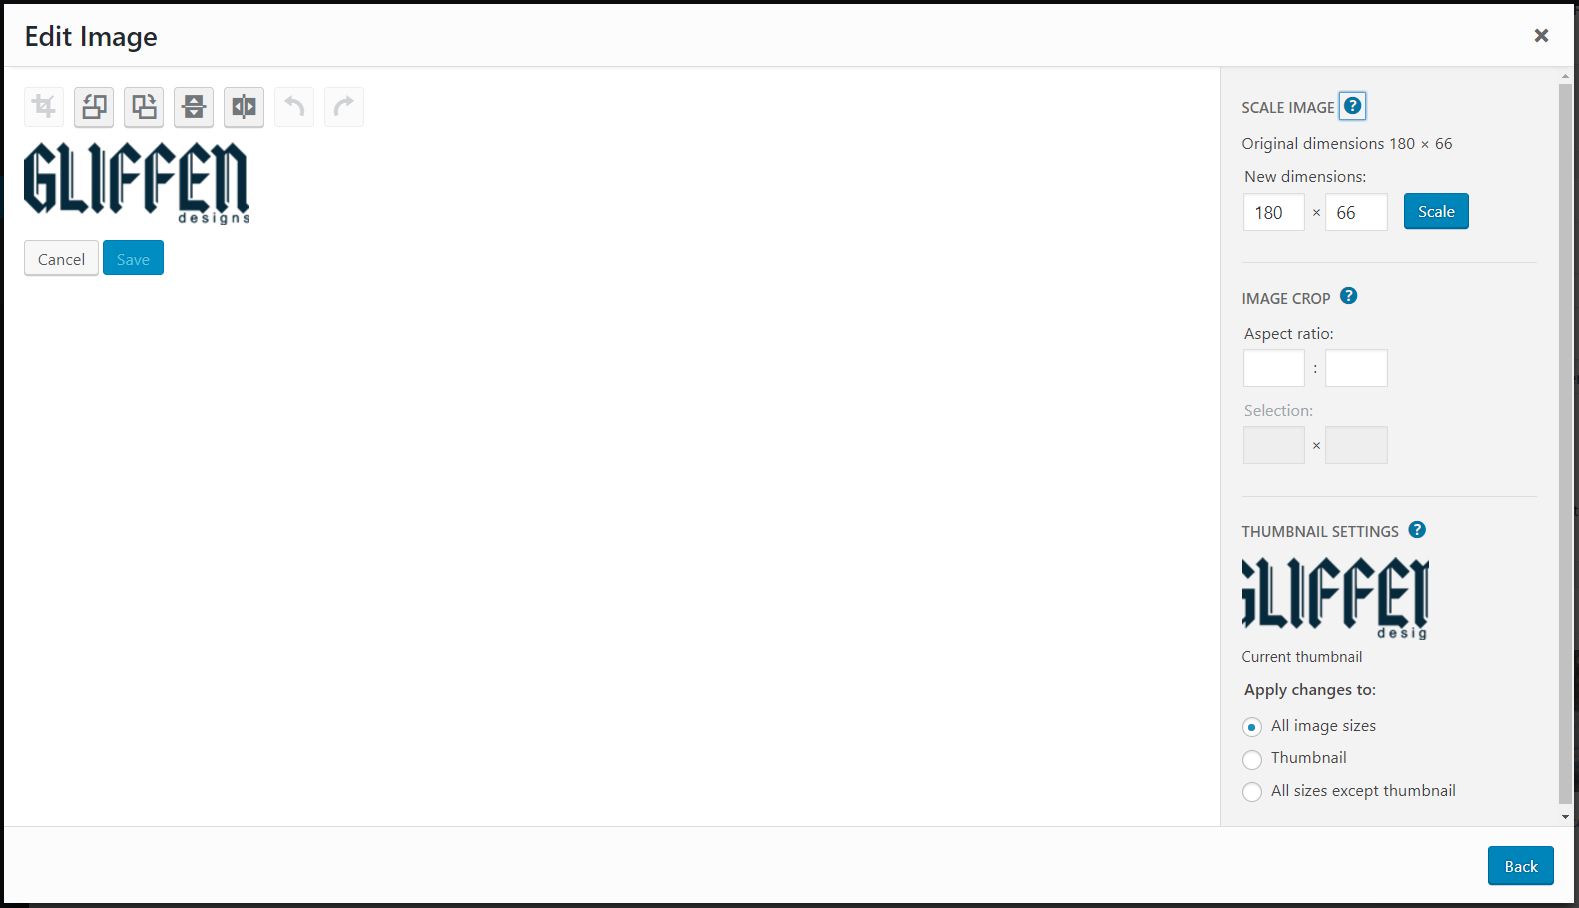
Note: Any photos you upload from a previous session are still saved in the Gallery – this eliminates the double-uploading of photos.
To view the page simply go to [ your URL ]
Note: If you are still logged into WordPress you will see “Edit this page” at the top of your pages and posts. This will also make it easier to navigate through which pages you want to edit.

