

Managing your GCMS Photo Gallery
Navigate to [ http://www.yourdomain.com/admin ]
(Type in your businesses website domain in place of www.yourdomain.com)
Login: [ E-mail ]
Password: [ your Password ]
Photo Gallery
Navigate to Content > Photo Gallery
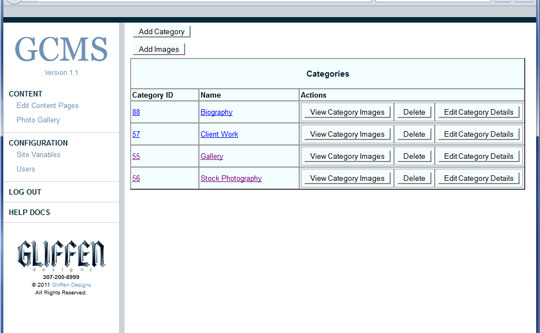
Add to Categories:
- Click on “Add Category”
- Type in Title of Category, Assign a Parent Category (if necessary, Root is the default), Category Image (main image – can be photo of the product), Date (if necessary) & Description of the product/service.
- Click Submit

Click on the Title of the Category to view/add images to that Category
- Click “Add Images” then Click here to select files
- Select image and save
- Process
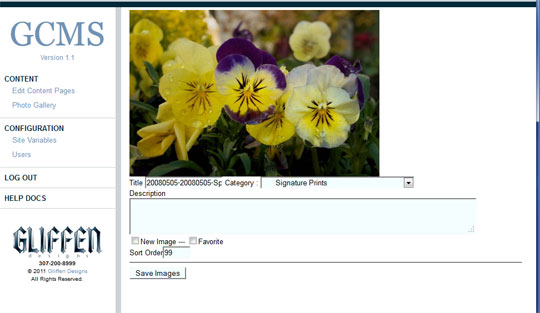
- Type in Title and Description (if necessary)
- Click Save Images

Note: Click on “Go to Parent Category” to navigate back to the previous Category
To Upload a Batch of Photos to the Site:
Navigate to Content > Photo Gallery
First choose the Category Name you want the photos to be uploaded to and than simply click “Add Images” > click “Click here to Select Files” (you can select several at once and than click “Process Uploaded Images” > Then you will come to where you type in Title and Description for each photo, you can also organize them by “Sort Order” (use double digits, ex. 01) and click “Save Image” to finalize upload.
You should see all the photos you just added in the category you assigned it to be in, use the above directions to help you go back and make any necessary changes.